THE FIBREGLAZE ENDURATEC SYSTEM

How we repair and resurface a swimming pool

Every project follows a structured five-stage pathway. The work within each stage is tailored to the pool construction and the condition revealed after emptying.
Assess · Prepare · Repair · Reinforce · Finish · Handover

ENDURATEC

- THE SYSTEM BENEATH THE FINISH

Built in layers, specified for your pool

Enduratec is Fibreglaze's resurfacing installation process that has been refined over 60 years. It combines a continuous reinforced lining with a two-coat colour finish and sprayed speckle textured finish. Preparation and repairs are matched to the pool's construction and condition.
Layers shown from finished surface down

Textured finish

The selected textured surface appearance.

Two colour topcoats

Two UV-stabilised polyester resin coats in the chosen colour.

Reinforced fibreglass lining

A continuous fibreglass-reinforced lining across the prepared interior.

Bonding coat

A compatible coat applied to the prepared base.

Prepared and repaired pool

Unsound material is addressed and repairs are made as required.
FIVE-STAGE
ENDURATEC
PROCESS

From assessment to handover

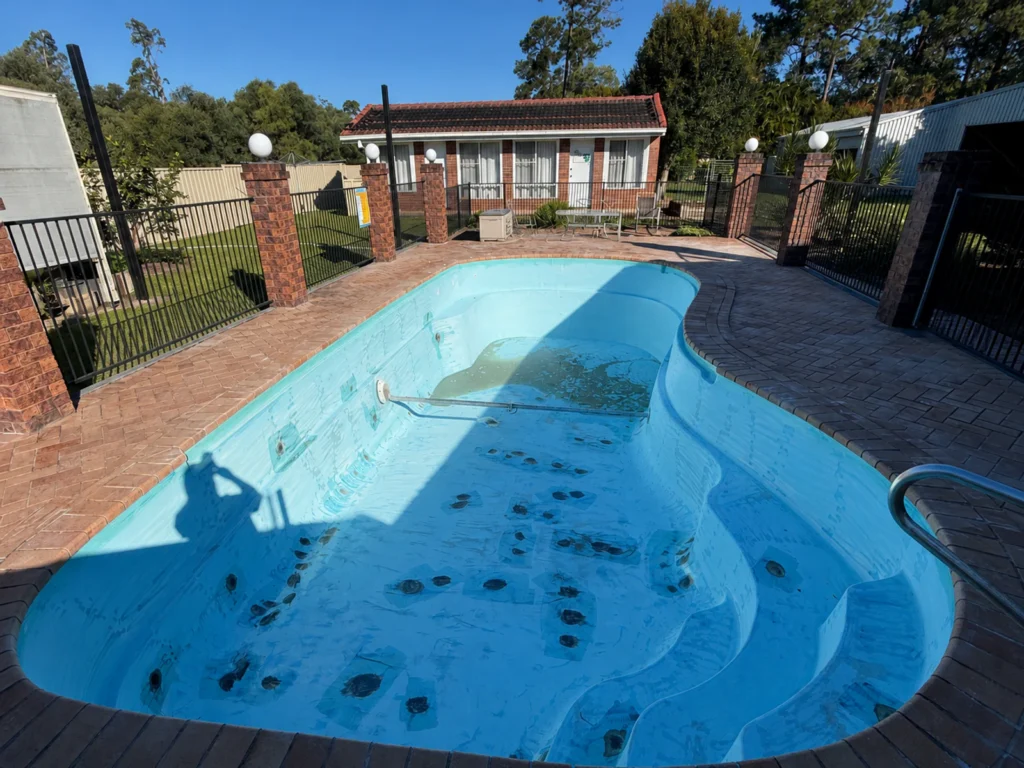
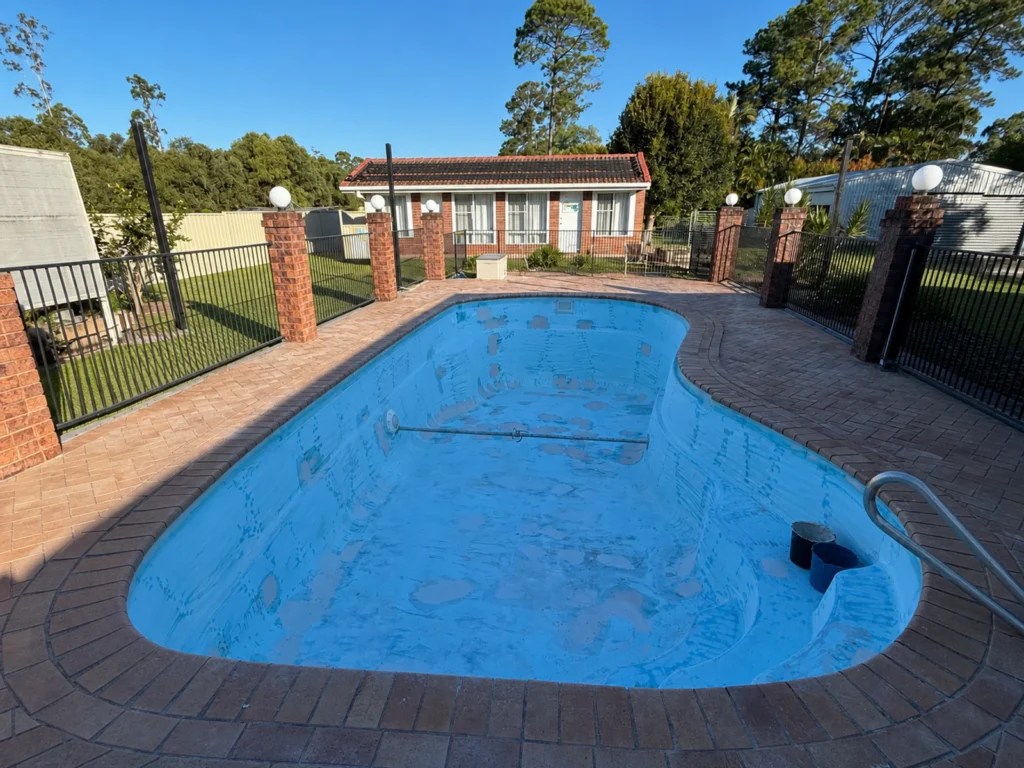
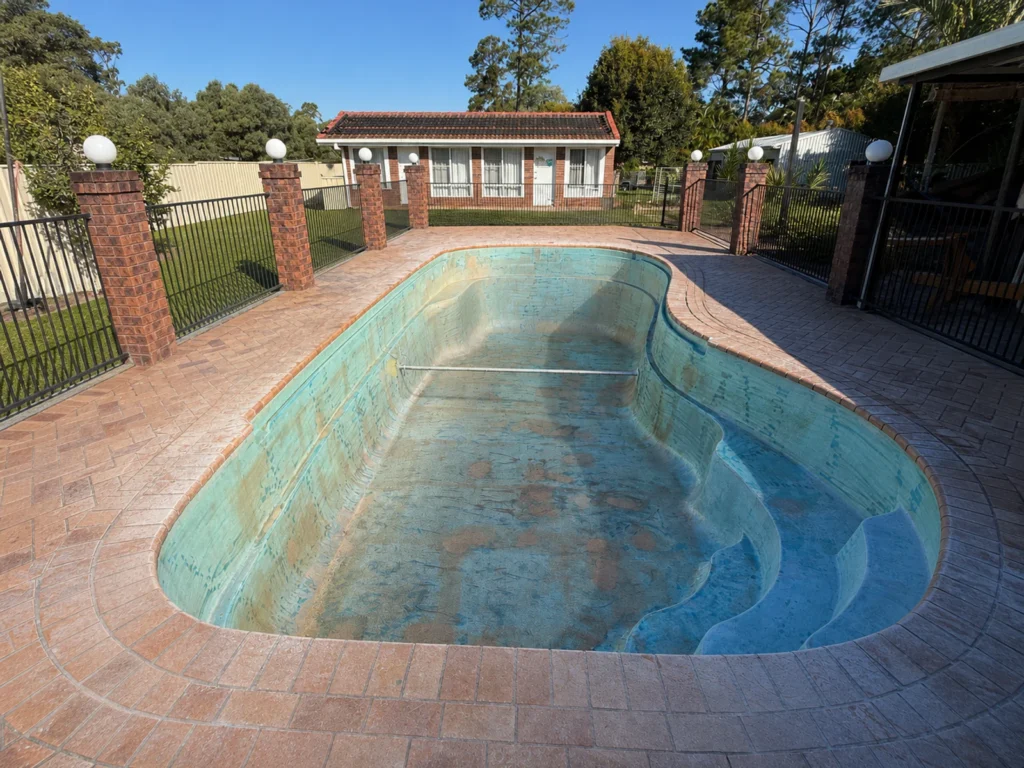
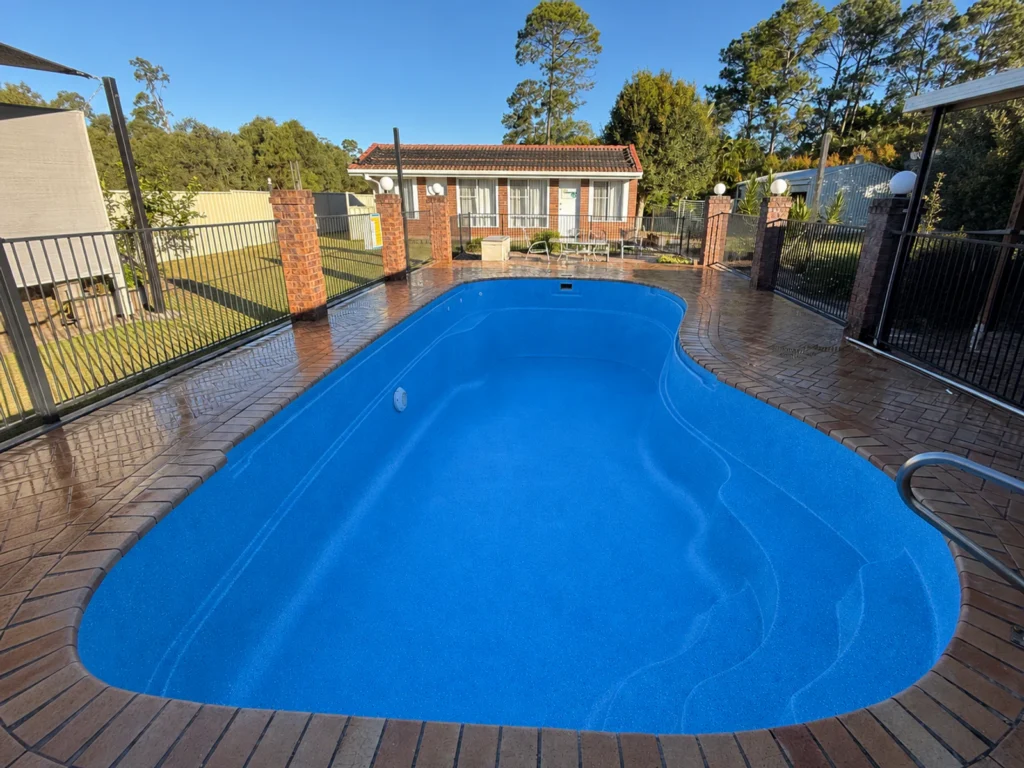
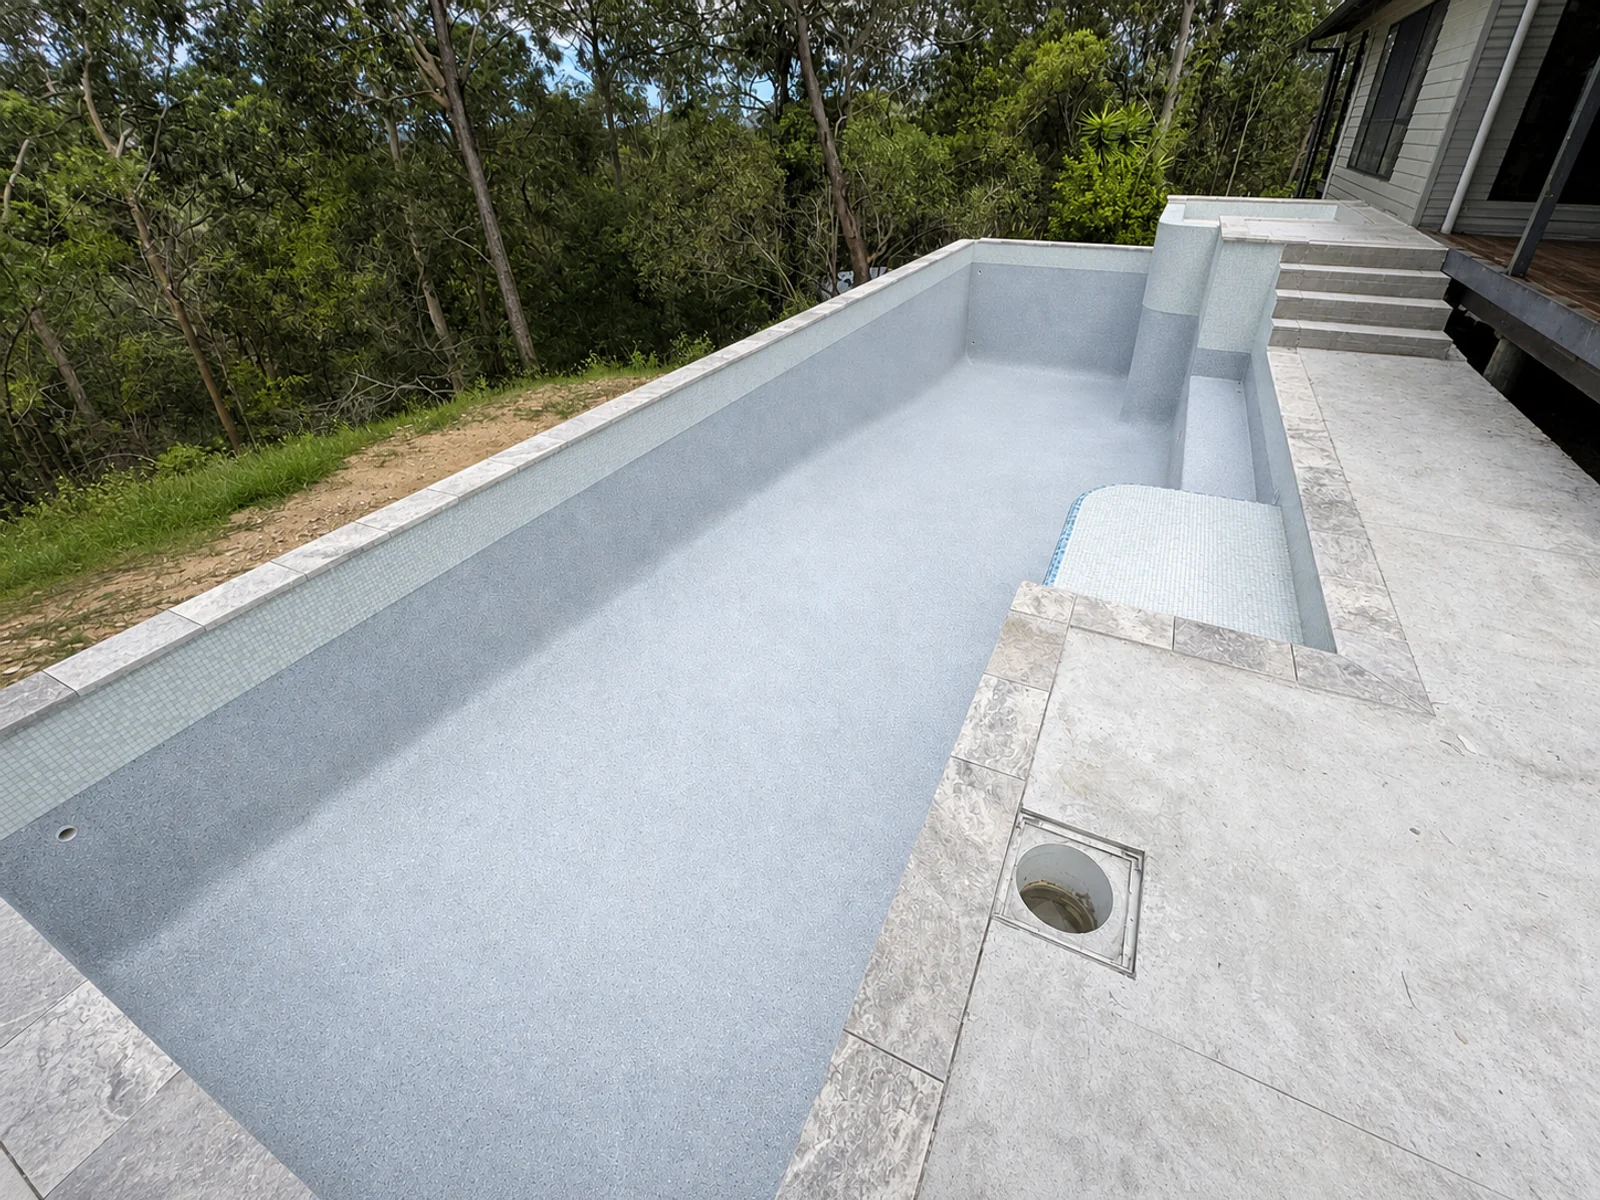
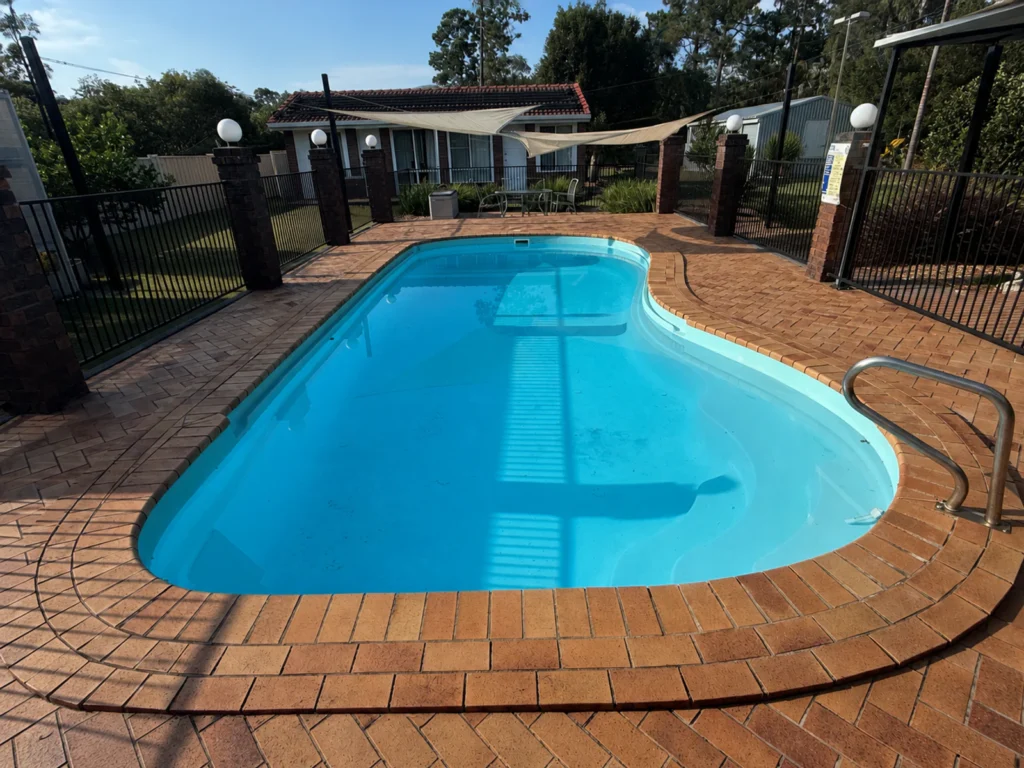
The sequence is consistent, while preparation and repair change with the pool construction, existing finish and condition revealed after emptying. The five photographs below follow one real project through the broad stages.

1. Assess and plan

We begin with the pool type, suburb, approximate size, visible condition, known leaks or repairs, photographs and access. Where required, a site inspection and available drawings help establish the construction, fittings and project constraints.

This supports a preliminary scope and program. Once the pool is emptied under planned conditions, the exposed interior is inspected and the preparation and repair scope is confirmed before those works proceed.

2. Prepare the existing surface

Loose, deteriorated, poorly bonded or otherwise unsuitable material is removed. The retained interior is cleaned and mechanically prepared using methods suited to the existing shell or surface.

This exposes concealed defects and creates a suitable base for the work that follows. A vinyl liner is removed in full for conversion; other firmly bonded material may sometimes remain where assessment confirms it can form part of a stable base.

3. Repair and level

Cracks, blisters, hollow or delaminated areas, damaged laminate, corrosion, pitting, removed sections and uneven transitions are treated according to their type and extent. Not every project contains every condition.

Repairs are rebuilt and levelled to create a stable, consistent profile. Active movement, plumbing faults, groundwater, drainage or external structural causes may require separate investigation or work before resurfacing proceeds.

4. Install the reinforced lining

Compatible resin and fibreglass reinforcement are installed across the prepared interior to form one continuous reinforced lining. Additional local reinforcement is incorporated where the assessment and repairs require it.

Steps, fittings, penetrations and transitions are integrated where specified. The selected colour is still to come; this stage forms the reinforced interior beneath the visible finish.

5. Finish and hand over

The selected colour and surface coats are applied after lining. Once the system has cured, the completed interior and detailed areas are inspected and applicable fittings are completed or refitted.

Fibreglaze provides the agreed guidance for refilling, initial water balancing and early care. Do not refill the pool until the team confirms it is ready; project responsibilities should be clear in the final scope.

One pool, shown through all five stages. These images follow the published Ningi 04435 fibreglass-pool project. They illustrate the sequence, not a fixed specification for every pool.

Preparation changes with the pool

From prepared shell to finished lining

The detailed sequence and repair scope vary by pool. These are the main parts of a typical Enduratec installation for each pool type.

Before

During

After

Preparation

1

Degraded gelcoat, osmosis blisters and unsound laminate are mechanically prepared. Deformed sections are cut and repositioned where present, and the shell is checked for further deterioration requiring repair.

Prime

2

Roller-apply vinyl ester (VE) epoxy hybrid primer to the entire pool. VE was specifically developed for swimming pool resurfacing as it is extremely chemically resistant and bonds to all existing pool surface types.

Repair and Level

3

Cracks, osmosis and local deformation are treated, rebuilt and reinforced where required. Repaired areas are levelled using a reinforced VE filler to restore a sound, stable profile before the complete lining is installed.

Reinforced Lining

4

After sanding repaired areas, a continuous lining is roller-applied using VE resin and fibreglass. Extra local layers are applied to reinforce repaired areas resulting in a durable and chemical resistant barrier.

Top Coats

5

The fibreglass is sanded and two UV-stabilised polyester topcoats are roller-applied. Both coats are identical, providing superior colour retention when compared with cheaper systems that use pigmented VE resins.

Textured Speckle

6

Contrasting speckle coats are spray-applied using UV-stabilised polyester resin in the selected appearance. Non-slip is applied to the speckle coats at entry points. Our Enduratec system has been refined over 60 years.

Fibreglass Shell Resurfacing

Still not sure which route applies? Start with the main Pool Resurfacing guide or send photographs with your enquiry. A visible finish can often be identified before a site visit.

Resurfacing Guide

PROGRAM AND SCOPE

Why there is no reliable standard number of days

Draining, preparation, drying, repairs, lining, curing and refilling are separate parts of the project. Pool construction, size, access, condition, weather and what is exposed after emptying can all change the sequence and program.

WHAT AFFECTS THE PROGRAM

Plan around the actual pool and site

A project-specific program is more useful than a generic duration. It should record assumptions, hold points and the conditions that could change the sequence.

1

Starting construction and finish

Removal and preparation differ between fibreglass, masonry finishes, paint, vinyl liner and new concrete.

2

Condition exposed

Moisture, bond failure, corrosion, cracks, osmosis, hollow areas or earlier repairs can add treatment and drying time.

3

Access, weather and curing

Water disposal, access, adjacent works, weather, cure requirements and refill arrangements all affect timing.

WHAT A USEFUL QUOTATION STATES

Compare the scope—not only the price

The quotation should make the anticipated work and its assumptions visible, including how concealed or provisional conditions will be handled.

1

Removal, retention and preparation

State what existing material is expected to remain, what is removed and how the retained substrate is prepared.

2

Repairs and provisional findings

Identify anticipated repairs, exclusions and the process for agreeing work revealed after the pool is exposed.

3

Lining, finish and handover

Confirm the lining, selected finish, applicable fittings, clean-up, inspection and refill or water-balance guidance included.

Photographs and inspection support the initial scope, but they cannot confirm every concealed condition. If preparation reveals a material change, the finding and its effect on repairs or program should be discussed. Plumbing, plant, groundwater, drainage or active movement outside the lining may require separate investigation or trades.

PROCESS FAQs

What pool owners usually want to know before work begins

These answers explain the broad resurfacing process. Pool-specific preparation, repairs, timing and responsibilities are confirmed in the project scope.

Can you confirm the complete scope from photographs?

Photographs often help identify the visible pool construction, finish and obvious problems, so they are strongly encouraged. They cannot confirm the bond or condition of concealed material. The final preparation and repair scope follows planned emptying and inspection of the exposed interior.

Should I drain the pool before an inspection?

No—do not empty a pool solely to identify it or investigate a problem. Removing the water changes the support acting on the shell. Emptying should be planned around the pool construction, groundwater, drainage and site conditions.

Does every existing surface have to be removed?

No. Unsound, loose, contaminated or otherwise unsuitable material is removed as required. Firmly bonded material may sometimes remain after assessment and preparation. For a vinyl-to-fibreglass conversion, the flexible liner is removed in full so the supporting construction can be inspected.

What happens if more damage is found after emptying?

The exposed condition is documented and compared with the anticipated scope. If a finding materially changes the repairs, programme or cost, it should be explained and agreed before additional work proceeds.

How long does resurfacing take?

There is no reliable standard duration. Pool type, condition, access, drying, repairs, weather, curing and refill arrangements all affect the programme. Ask for a project-specific sequence and assumptions rather than relying on a generic number of days.

When can the pool be refilled?

Refilling begins only after the installed system has reached its required cure and Fibreglaze confirms the pool is ready. The project scope should identify the agreed responsibilities for water supply, initial water balancing, plant operation and early surface care.

REQUEST AN ASSESSMENT

Start with what you can see

Tell us the pool type if you know it, approximate size, visible problems, known leaks or earlier repairs, access limitations and what you would like to improve.

Clear overall and close-up photographs help the first review. Do not drain the pool for the enquiry; concealed conditions and the final scope are confirmed later.

Pool address, approximate pool size and access
Close-ups of defects, patches and earlier repairs
Suburb, pool size, access and known history
YOUR POOL

Tell us about the pool

Pool resurfacing process enquiry

Need help with your pool?

Send us a few photos and our team can help identify the likely issue and the most suitable next step.

Servicing QLD and NSW